

A key challenge in this project was devising a way to integrate LIDAR terrain data with what would be human scaled space in Unreal. To be clear, the CGMA class had been oriented to AAA video game design and covered Unreal’s landscape generation tool as well as rock sculpting, fundamental skills for any Environmental Artist to have in their skillset. Typically, an Environmental Artist will have developed a kit of game-ready assets that level designers will use to create the look and feel of an environment. This is an essential part of game design, but what I wanted to develop was different, in that I wanted an accurate representation of an actual space as clsoe to 1:1 scale as possible, so that I could approach interests beyond game design.
This presented me with a unique challenge, in that rock sculpting, to be seen by a user at eye level at a convincingly high resolution far exceeds the level of resolution provided by even GlobalMapper.
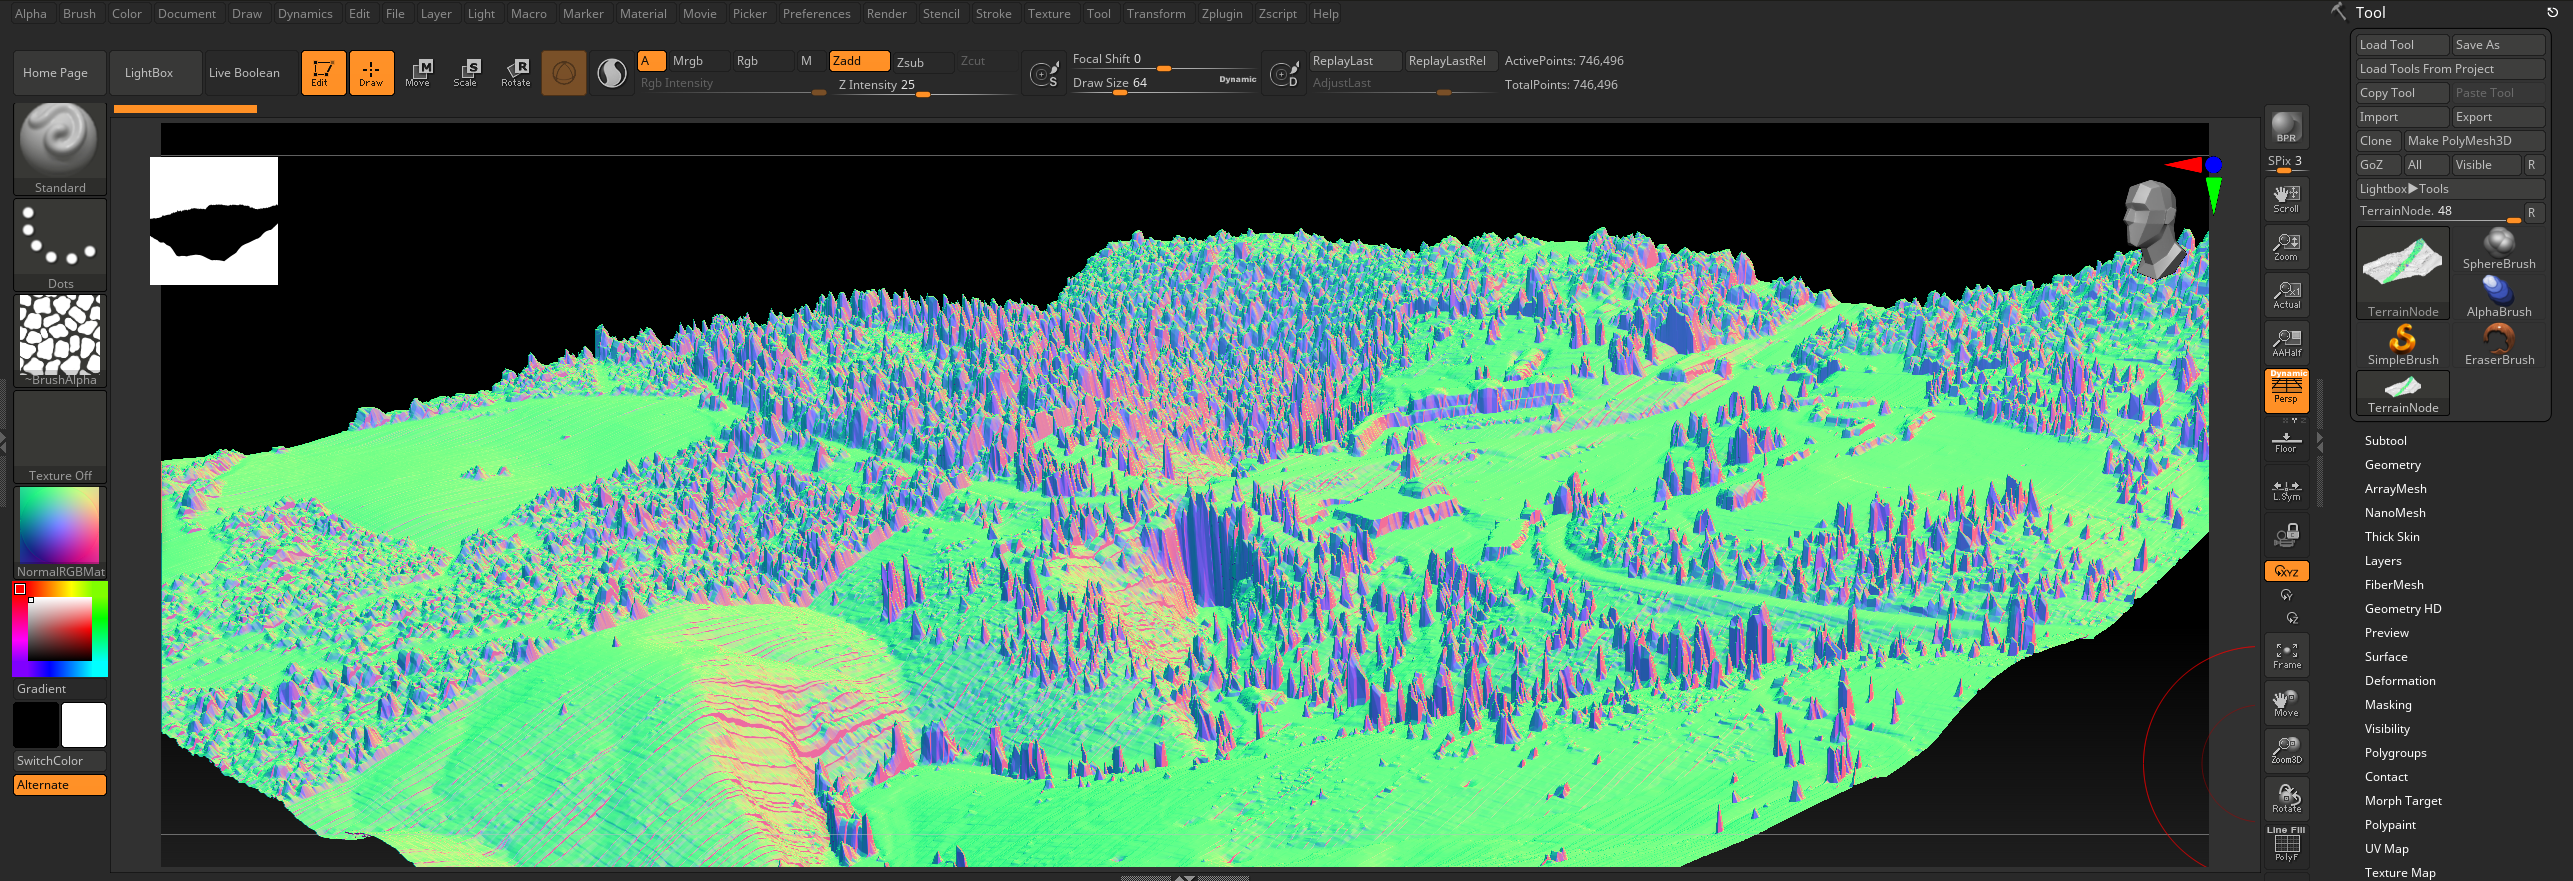
Zbrush was key to a process I developed, where I would use GlobalMapper to export FBX objects into Zbrush, then use the capabilities (like Dynamesh, Zremesh, projection, sculpting brushes and decimation) to generate sections of terrain that I would then seamlessly overlay the Landscape Map I would create in Unreal. I aoso would create two sets of UV maps for each piece, and experiment with look and feel in Unreal.
Later, I would replace this with meshes I made in Reality Capture, but I wanted to mention this part of the journey because it was a very involved process. In sum, this phase consisted of:
Leveraging LIDAR Data: The Shenandoah project’s initial stages heavily relied on LIDAR data from GlobalMapper. ZBrush became instrumental in working with this mesh geometry. My primary goal was to craft the natural land bridge, create a series of interconnected cliff pieces, and carve out the tunnel.
Rock Sculpting Techniques: Utilizing techniques learned from the course and the Orb sculpting brushes, which are particularly effective for rock sculpting, I meticulously shaped the environment. The process involved UV mapping, testing different textures in Unreal, and using Quixel materials to enhance the landscape’s realism.
From High-Poly to Low-Poly: The workflow began with creating a high-poly model, focusing on UVs that would later accommodate displacement. After achieving a detailed high-poly model, I transitioned to crafting a low-poly version, ensuring it closely aligned with the original topology. This step was crucial for performance optimization when integrating with Unreal Engine.
UV Mapping and Baking: UV mapping was approached strategically, prioritizing areas at eye-level for higher texel density. Each UV set was designed for 8k resolution to capture maximum detail. The final step involved baking 8k normal and AO maps, ensuring the models looked impeccable in Unreal.